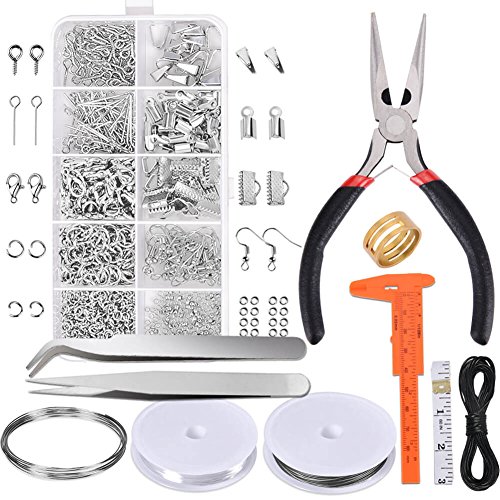
Making your own unique jewelry dish is a fun way to show off your creativity. With a Resin Jewelry Dish Kit, you can create something truly special, whether it's a gift for a friend or a treat for yourself. These kits usually come with everything you need: resin, hardener, molds, and even some fun extras like glitter or colorants.
The process is super simple! First, mix the resin and hardener according to the instructions. It’s like a little science experiment right in your kitchen. Once you’ve got that mix ready, you can add in your favorite colors or sparkles to really make your dish stand out.
Pour the mixture into the mold and watch the magic happen. The resin will start to cure, transforming into a hard, shiny surface that’s perfect for holding your rings, earrings, or whatever little treasures you want to keep organized. Plus, you get to decide the shape and color, which means your jewelry dish will be one-of-a-kind.
Once your dish is set, it’s time for the best part – removing it from the mold! Carefully peel it away to reveal your creation. The satisfaction of seeing something you made with your own hands is unbeatable. Plus, it’s a great conversation starter! Everyone will want to know how you made such a cool piece.
Gather Your Supplies and Get Started
Ready to dive into your resin journey? Gather your supplies, and let’s get started with your Resin Jewelry Dish Kit! This kit usually comes with everything you need, making it super easy to jump right in. You’ll typically find resin, hardener, mixing cups, stir sticks, and even some fun embellishments.
Before you begin, make sure you have a clean and organized workspace. Resin can get a little messy, so lay down some newspaper or a disposable tablecloth. Don’t forget to wear gloves! You want to protect your hands while you create. If you have some old clothes on, even better.
Once your area is ready, check your Resin Jewelry Dish Kit for instructions. Most kits have a guide that tells you how to mix the resin and hardener properly. Measure carefully—getting the right ratio is crucial for a successful make. Mix it until it’s clear and smooth, without any bubbles. If you're feeling adventurous, save a little resin to mix in your embellishments!
Now, pour the resin into your chosen mold. This is where you can let your creativity shine bright! Add glitter, dried flowers, or jewels; anything that catches your fancy. Just remember, less is often more when it comes to embellishments. If you’re using pigments, a little goes a long way, too.
After pouring, let it cure as per the instructions. Patience is key here! You'll be amazed at how your Resin Jewelry Dish transforms. While you wait, clean up your space and think about what you’ll store in your beautiful new dish!
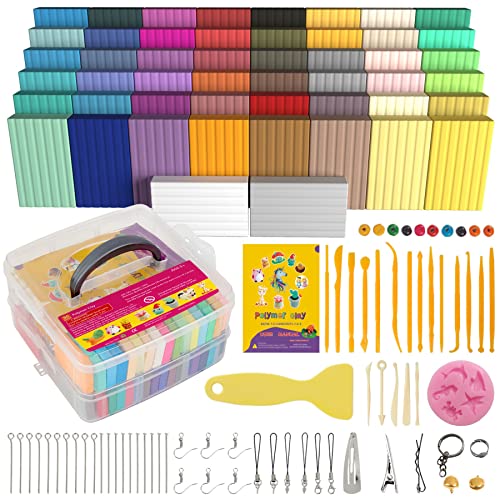
50 Color Polymer Clay Kit for Kids & Artists
Endless creativity awaits with vibrant colors and fun shapes for every project!
Product information
€25.80 €17.20
Product Review Score
4.8 out of 5 stars
154 reviewsProduct links
Mix Your Resin and Add Color
Mixing resin is one of the most exciting parts of using your Resin Jewelry Dish Kit! You get to play mad scientist and create something truly unique.
Start by following the instructions for measuring out your resin and hardener. Precision is key here, so make sure you’re using a scale or measuring cups. Once you’ve got the right amounts, it’s time to mix!
Use a sturdy stick or a spatula to mix the resin and hardener thoroughly. You’ll need to stir for about 3-5 minutes. Watch for bubbles forming; if you see them, just keep stirring to break them up. This is where the magic begins!
Now comes the fun part—adding color! Whether you prefer vibrant hues or soft pastels, the options are endless. You can use resin dye, acrylic paints, or even mica powder for a shimmery finish. Just add a little at a time until you get the shade you love. Don't forget to mix it well to get an even color throughout!
With everything mixed and colored to perfection, you’re ready to pour it into your molds. Get creative with layers or swirls, and don’t be afraid to experiment. This is your chance to express yourself and make a one-of-a-kind piece!

DIY Candle Making Kit for Beginners and Adults
Unleash your creativity and make beautiful candles at home with this easy-to-use kit!
Product information
€34.40 €22.36
Product Review Score
4.77 out of 5 stars
218 reviewsProduct links
Cure and Enjoy Your Handmade Dish
Once you've mixed your resin and poured it into the mold, it's time to let it cure. This part can feel like the hardest wait ever, but it’s all part of the fun. Depending on the resin you use, curing can take anywhere from a few hours to a full day. Just keep your workspace dust-free and avoid touching the surface. Trust me, a little patience goes a long way!
While you wait, think about how you want to decorate your new Resin Jewelry Dish Kit. You can add an array of beautiful items like glitter, dried flowers, or even small charms. This is your chance to express yourself! Choose colors that make you happy and let your creativity shine. You can layer different materials for a unique look, making each piece one-of-a-kind.
After it’s fully cured, carefully take your Resin Jewelry Dish out of the mold. You’ll feel a rush of excitement seeing the finished piece! If you notice any rough edges, a little sanding can smooth them out easily. If you want to add extra flair, consider painting the edges or applying a sealant for a glossy finish.
Now, it’s time to enjoy your new creation! Use your dish to hold all those little things that usually get lost—like rings, earrings, coins, or even those pesky hair ties. It’s not just functional, but it also adds a pop of color and personality to your space. Plus, sharing your handmade dish with friends and family is a great way to show off your crafting skills. Who knows? They might want to get their own Resin Jewelry Dish Kit!